Annual Tankless Water Heater Maintenance Checklist for Homeowners
Keep your tankless unit running at peak efficiency with this annual maintenance checklist — covering flushing, filter cleaning, venting, and error log review.
Our technicians have inspected countless failing systems across the US, and the underlying issue usually traces back to skipped maintenance. This oversight costs property owners thousands of dollars every single year.
A standard system provides excellent efficiency, but only if you consistently care for it.
We know that water heating accounts for roughly 20 percent of an average home’s energy use, according to 2026 U.S. Department of Energy data. That statistic highlights why a neglected system drains your wallet through high utility bills and premature component failure. A neglected heat exchanger simply has to work much harder to deliver hot water.
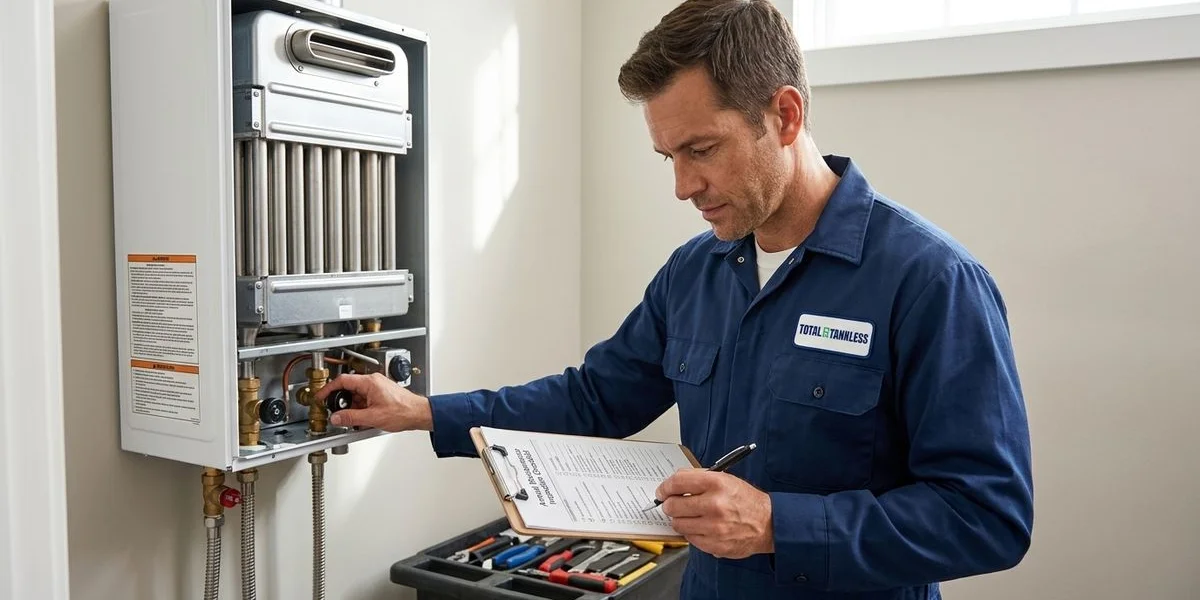
Our team created this annual tankless water heater maintenance checklist for homeowners to solve this exact problem. This guide covers every required task to keep your unit running efficiently and maintain your manufacturer warranty. Let’s review the hard data, examine the potential pitfalls, and walk through the exact steps required for peak performance.
Why Annual Maintenance Is Non-Negotiable
We constantly remind property owners that manufacturer warranties come with strict conditions. Major brands like Rinnai, Navien, Noritz, and Rheem require documented annual maintenance to keep their guarantees active. For example, Rinnai offers a generous 15-year residential heat exchanger warranty, but they will deny a claim without proper service records.
Our experience shows that routine inspections catch small problems before they escalate into massive repair bills. A dirty filter ignored for two years can easily trigger a Rheem Error Code 11, which signifies a complete ignition failure. Fixing an overheated, cracked heat exchanger through a costly repair costs over a thousand dollars, while rinsing a clogged filter during a routine check costs nothing.
We regularly see manufacturers deny warranty coverage for the following preventable reasons:
- Failure to perform annual chemical descaling in hard water areas.
- Running the unit with a blocked combustion air filter.
- Operating the system with temperature settings above 160 degrees Fahrenheit.
- Ignoring active error codes that warn of flow restrictions.
Routine care pays off immediately by preventing these stressful, expensive emergencies. In US regions with hard water above 120 ppm, you might need professional descaling every six months.
Our clients find that a standard professional service visit, which currently ranges from $150 to $250, is well worth the cost. You will easily extend the life of your system and maintain consistent, reliable water pressure.
The Complete Annual Tankless Water Heater Maintenance Checklist for Homeowners
1. Flush and Descale the Heat Exchanger
We consider flushing the heat exchanger to be the most critical maintenance task on the schedule. This process removes mineral scale that accumulates inside the copper or stainless steel pathways from normal water flow. Hard water minerals act like an insulating blanket, severely restricting heat transfer and flow rate.
Our standard procedure involves closing the isolation valves and connecting a submersible circulation pump. Many professionals use specific, manufacturer-approved systems for this task:
- Kelaro Tankless Water Heater Descaler Kits.
- Rectorseal Calci-Free Flush Kits.
- Navien Flow-Aide Descaler systems.
These kits circulate white vinegar or an approved descaling solution through the unit for 45 to 60 minutes.
We strongly advise against using harsh chemical descalers not explicitly approved by the manufacturer. Corrosive chemicals can permanently damage the delicate internal components of your system. After flushing, you must run fresh water through the system for at least ten minutes to clear any remaining solution.
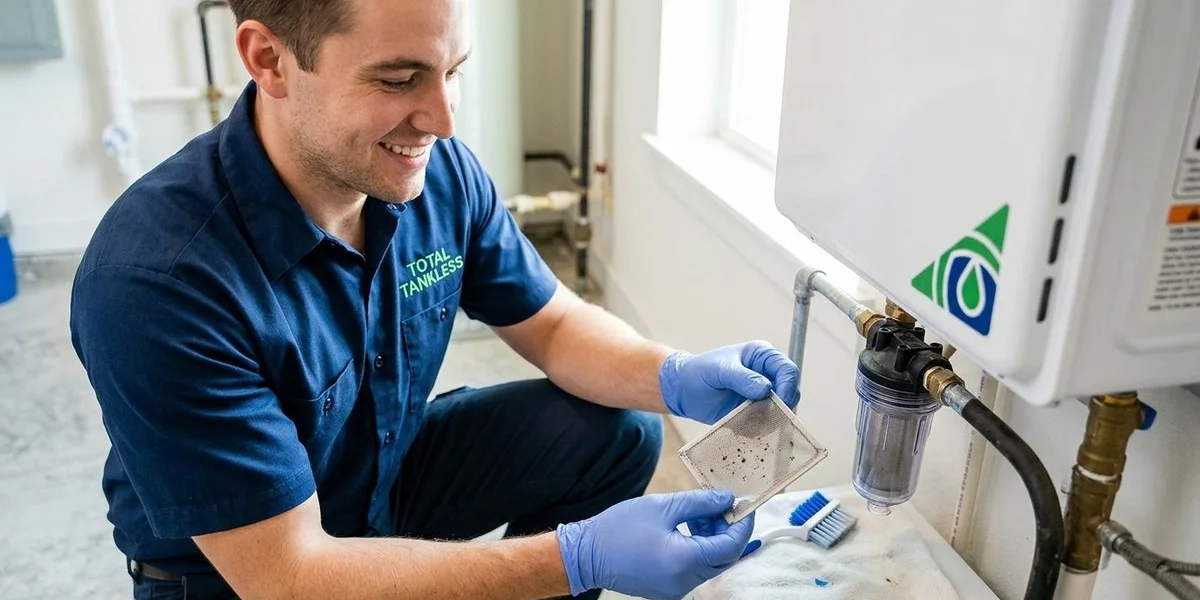
2. Clean the Cold Water Inlet Filter
Our maintenance routine always includes checking the small mesh filter screen located on the cold water inlet. This component catches sediment and debris from the municipal water supply before it enters the heat exchanger. Over time, this filter collects particles that restrict water volume and reduce the system’s heating performance.
We require removing this filter every six months for a thorough, careful cleaning. You simply rinse the screen under running water and use a soft brush to remove stubborn deposits. If you notice the mesh is damaged or corroded, you must replace the filter entirely to protect the unit.
Our technicians see many homeowners experience reduced water pressure simply because they skipped this two-minute task. A clogged screen frequently causes flow-related error codes, such as Navien’s low-flow warnings, and forces the unit to shut down safely.
3. Clean the Combustion Air Filter
We pay close attention to the combustion air filter on gas-fired units during every visit. These filters keep dust, lint, and environmental debris out of the sensitive burner chamber. A dirty filter restricts critical airflow, which leads to incomplete gas combustion and a significant drop in efficiency.
Our team treats restricted airflow as a serious safety concern for any household.
Poor combustion can increase carbon monoxide production, creating a highly dangerous environment in your living space.
You should remove the filter according to your specific owner’s manual and clean it using compressed air or gentle vacuuming.
We replace disposable air filters entirely rather than attempting to clean and reuse them. You must always check the manual for the correct replacement part numbers for your specific brand and model.
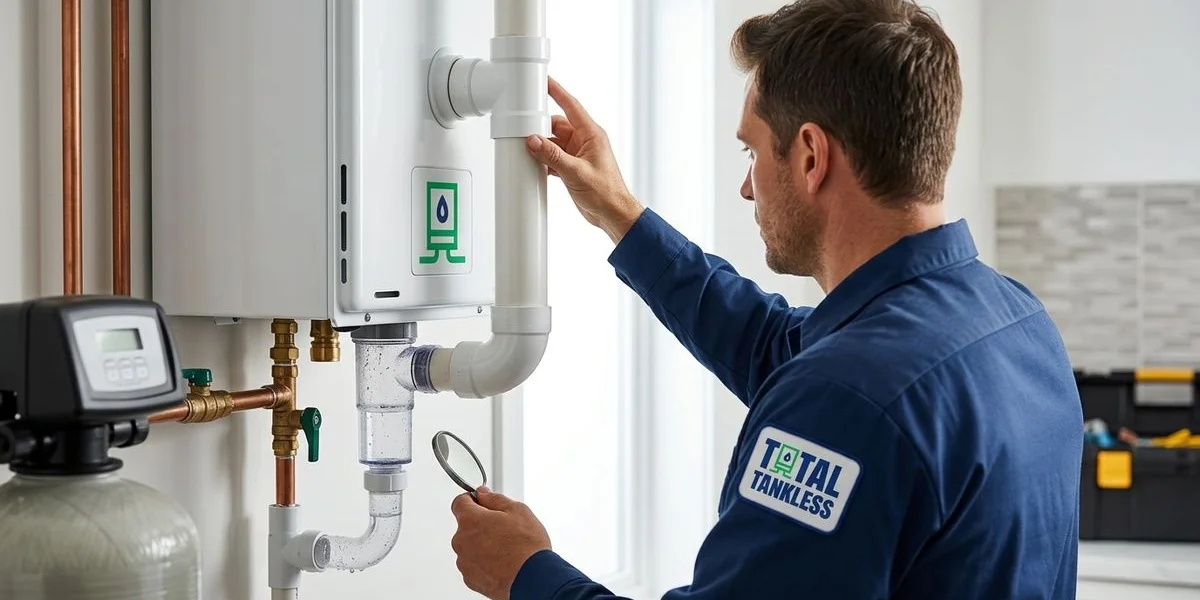
4. Inspect the Venting System
Our safety checklist includes a thorough inspection of the venting system. Gas-fired units rely on these PVC or CPVC pipes to carry combustion exhaust safely out of your home. You need to inspect the entire vent run from the top of the unit to the exterior termination point.
We look for disconnected joints, signs of corrosion, or physical damage along the entire pipe run. You must verify that the outside vent termination is completely clear of debris, bird nests, or vegetation. In northern US states, heavy winter snow buildup can block the exhaust flow and trigger a system shutdown, such as a Rinnai Error Code 10.
Our protocols mandate immediate repairs if any part of the vent system appears compromised. A damaged exhaust pipe is a severe carbon monoxide hazard and requires immediate professional attention before the unit is used again.
5. Check the Condensate Drain
We always test the condensate drain line on high-efficiency condensing models. These modern units extract so much heat from the exhaust that they produce an acidic liquid byproduct. This liquid must drain properly to prevent internal water damage and complete system failure.
Our inspection process covers three critical checkpoints for the condensate system:
- Pouring water through the line to verify clear flow.
- Checking the physical condition of the PVC drain pipes.
- Testing the internal limestone media inside the neutralizer cartridge.
If your system uses a neutralizer cartridge to balance the acidic pH, you must ensure the media is fresh. The neutralizing media typically requires replacement once a year to prevent acidic water from eating through your plumbing pipes.
We frequently find that property owners overlook this specific component during basic DIY maintenance. A blocked drain will trigger internal sensors, throw an error code, and safely shut the entire water heater down.
6. Review the Error Code Log
Our diagnostic process relies heavily on the internal error code logs stored within modern tankless control boards. During an annual inspection, you can access the diagnostic menu to see every fault recorded since the last service. Even if the unit provided hot water all year, this log reveals intermittent issues that hint at developing problems.
We look for specific, repeating patterns in the diagnostic data to predict future component failures. For instance, a Rheem Error Code 12 indicates a flame failure, meaning the sensor occasionally fails to detect a flame. A Rinnai Error Code 16 serves as an over-temperature warning, which often points directly to a clogged heat exchanger.
Our technicians carefully document every code found in the log before clearing the system memory. Starting with a clean baseline ensures that next year’s inspection only shows new, relevant performance data.
7. Test the Output Temperature
We use a highly accurate digital thermometer to measure the hot water output at the nearest fixture. You should compare this physical reading to the exact set point displayed on the unit’s control panel. The measured temperature should fall within two to three degrees of your selected heating setting.
Our preferred setting for residential homes is 120 degrees Fahrenheit, perfectly aligning with US Department of Energy recommendations. While commercial facilities might follow OSHA guidelines of 140 degrees for sanitation, a 140-degree residential setting can cause third-degree burns in just five seconds. Keeping the unit at 120 degrees also significantly reduces the speed of mineral scale buildup inside the copper pipes.
We investigate immediately if the temperature deviates significantly from the control panel setting. A large temperature gap suggests a faulty thermistor, a gas valve issue, or severe scale restricting heat transfer. Here is a quick reference for common temperature settings and their specific impacts:
| Setting | Target Audience | Safety & Efficiency Impact |
|---|---|---|
| 110°F - 115°F | Elderly or sensitive skin | Maximum safety against scalding, highly energy efficient. |
| 120°F | Standard US households | DOE recommended. Balances hot water needs with burn prevention. |
| 140°F | Commercial use / Dishwashers | High scalding risk for residential. Speeds up mineral scale buildup. |
Our safety protocols always prioritize the 120-degree mark for typical residential installations. You save roughly 3 to 5 percent on energy costs for every 10 degrees you lower the thermostat.
8. Check for Leaks
We conduct a rigorous visual inspection of every single water connection around the unit. You need to physically examine the cold water inlet, the hot water outlet, and the isolation valves. The pressure relief valve requires special attention, as a slow drip here often indicates dangerous internal pressure changes.
Our visual sweep includes checking the walls and floors beneath the heater for hidden moisture or mineral staining. Even a tiny, intermittent drip can rot drywall and ruin flooring if left unchecked for months between service visits. Catching a worn washer or a loose threaded fitting early prevents catastrophic water damage to your property.
9. Verify Gas Connections
We finish the physical inspection by scrutinizing all gas connections from the supply line to the internal gas valve. You must check every metal fitting for early signs of rust, corrosion, or physical stress. While a licensed professional uses a digital manometer for precise pressure testing, you can use a basic soapy water solution to spot surface leaks.
Our safety protocol dictates that any bubbling from the soapy solution requires immediate, decisive action.
If you detect a sulfur-like gas odor or see bubbles forming, shut off the main gas supply valve instantly and evacuate the area.
You must then contact a licensed plumber or your local gas utility provider to resolve the leak.
Keeping Records
We highly recommend creating a dedicated physical or digital maintenance folder for your water heating system. You must document the exact date, the specific tasks performed, and any replacement parts installed during the visit. These detailed records serve as your primary proof of maintenance if you ever need to file a warranty claim.
Our service teams often take photos of the error log readouts and the internal components to build a visual history. Manufacturers demand concrete evidence of routine upkeep, and a well-maintained logbook prevents frustrating warranty denials. Tracking this data also helps technicians spot long-term performance trends and anticipate part failures before they happen.
DIY vs Professional Service
We often encourage handy homeowners to tackle basic tasks like cleaning the cold water inlet screen. Basic maintenance is easy, but executing the complete annual checklist safely requires highly specialized tools. A licensed professional knows exactly how to read a multimeter, check gas pressures, and safely handle acidic descaling chemicals.
Our service teams strongly advise leaving the following technical tasks to certified plumbers:
- Testing gas pressure with a digital manometer.
- Diagnosing and replacing faulty flame sensors.
- Flushing the internal heat exchanger with circulation pump kits.
- Clearing complex ventilation pipe blockages.
Industry data from 2026 shows that a comprehensive professional service visit typically costs between $150 and $250 in the US. When you consider that an ignored error code can ruin a $1,200 heat exchanger, this annual fee is a clear bargain.
We guarantee that hiring a certified technician ensures the difficult work is done perfectly. Your manufacturer warranty will remain fully intact and valid for the long haul.
Conclusion
We hope this annual tankless water heater maintenance checklist for homeowners provides the clarity you need to protect your investment.
Routine care transforms a fragile appliance into a reliable heating system that lasts for decades.
Schedule your next professional maintenance visit today to secure your warranty and guarantee endless hot water for your family.
Licensed master plumber and lead technical advisor at Total Tankless with 25+ years of tankless water heater expertise.
Need professional help with your tankless water heater?
Learn About Our Tankless Maintenance Service